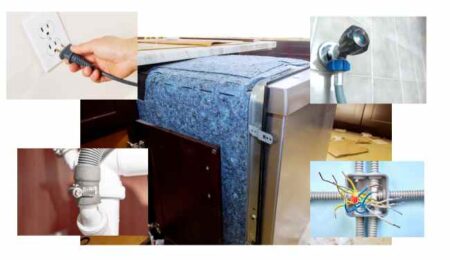
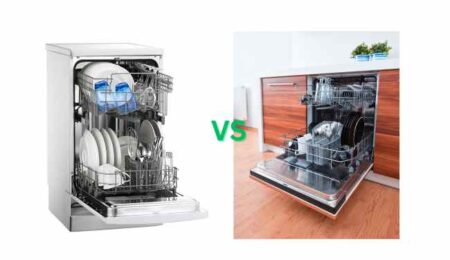
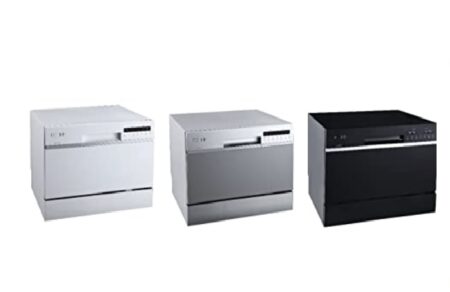
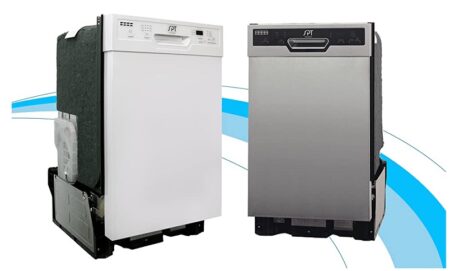
Dishwashers are bound to save your time and efforts by winding up the most time-consuming part, which is dishwashing. They are a great invention, and luckily they are even easier to install, all by yourself at home. With a few necessary tools and obviously a new dishwasher, you are all set.
Installing a dishwasher is a fairly easy process that most people can do themselves with a little bit of instruction. In this article, we will outline the basic steps you need to take in order to install your dishwasher.
- Tools/Materials You’ll Need to Install Dishwasher
- Before You Begin (Pre-cautions)
- 11 Easy Steps to Install New Dishwasher
- 1- Making Space
- 2- Setting up the location
- 3- Reading the Instruction Manual
- 4- Connecting the drain hose
- 5- Connecting the water supply line
- 6- Connecting the electrical wires
- 7- Positioning the dishwasher
- 8- Attaching water supply line
- 9- Hooking the Dishwasher
- 10- Reconnecting the drain hose
- 11- Testing the dishwasher
- 6 Easy Ways to Replace Dishwasher
- Things That Can Destroy a Dishwasher
- 5 Tips to Enhance Dishwasher’s Performance
- Conclusion
- Most Frequently Asked Questions
Tools/Materials You’ll Need to Install Dishwasher
If you’re looking to install a dishwasher in your home, you’ll need a few tools to help get the job done.
- Wrench: A wrench is necessary to install a dishwasher because it helps you tighten the bolts that hold the dishwasher in place.
- Socket wrench: A socket wrench will help you remove and tighten screws.
- Screwdriver: A screwdriver comes in handy to loosen or tighten bolts and screws.
- Tape measure: A tape measure is necessary to install a dishwasher because it helps you ensure that the dishwasher is the correct height.
- Level: a level will ensure that your dishwasher is installed straight.
- Power Drill: A power drill is required to drill holes and screws.
- Pipe wrench: A pipe wrench can be helpful for tightening any connections
- Dishwasher: A dishwasher itself can come in handy for cleaning dishes!
Before You Begin (Pre-cautions)
When installing a dishwasher at home, it is important to take certain precautions. Care should also be taken not to damage the cabinets or countertop when installing the dishwasher.
11 Easy Steps to Install New Dishwasher
Installing a dishwasher can seem like a daunting task, but it’s really not that difficult. With these easy steps, you’ll be able to have your new dishwasher up and running in no time!
If you are looking to buy the perfect dishwasher for your needs, read the Ultimate dishwasher buying guide where I have shared facts and things to keep in mind before purchasing a dishwasher.
1- Making Space
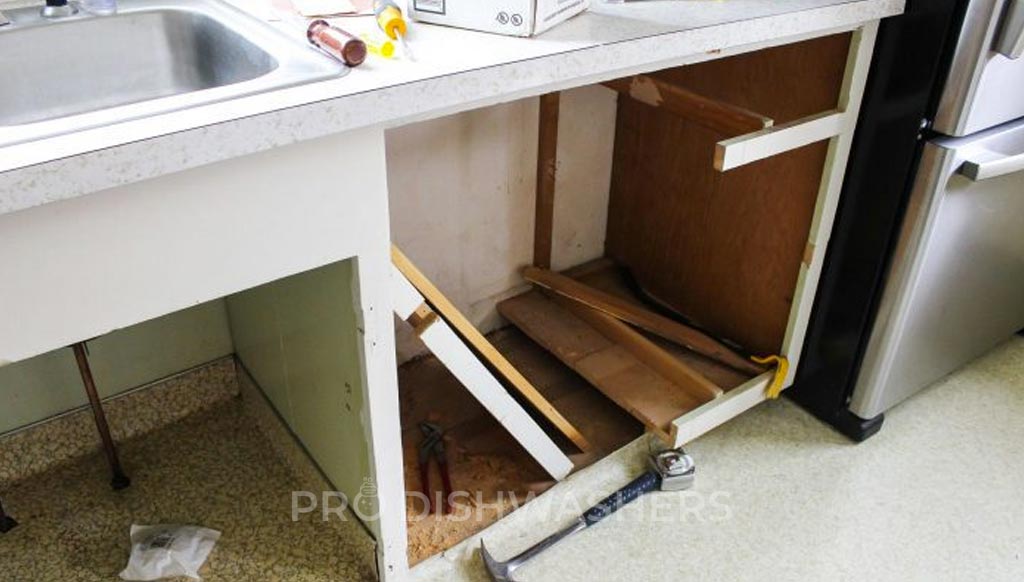
If this is your first time installing a dishwasher, you will need to make room for it. If your cabinets aren’t built-in, you may cut through the face of the cabinet using a reciprocating saw or a jigsaw.
Only go as broad and high as your dishwasher will allow. You’ll have to cut into the cabinet box’s base. Your cut lines must be straight in order for your dishwasher to fit easily. To obtain the straightest line, use a chalk line or a laser level. You may modify the height of the dishwasher legs after it is installed.
2- Setting up the location
After you have made enough space for the dishwasher, you now need to set up the location by drilling a hole for the pipes and wiring to flow through. As long as your dishwasher is directly next to the sink, you should drill through the sidewall of the cabinet closest to the sink using a core bit.
Drill the hole at the rear of the sidewall, ensuring that the water and electrical cables may pass through. However, since the boards are delicate, take caution not to fracture them.
3- Reading the Instruction Manual
After you have made and set up the location for your new dishwasher to fit in, make sure to carefully read the installation instructions from the owner’s instruction manual carefully so that you don’t miss out on any specific instructions from the manufacturer of your dishwasher’s model, for the rest I have got you covered!
4- Connecting the drain hose
Remove the dishwasher as you have now measured all its dimensions, lay it down on the ground on its back. The drain hose that comes with your dishwasher must be attached to the dishwasher’s drain pipe.
Most dishwashers drain through the garbage disposal which means that the drain hose is directly connected to the garbage disposer. If you connect the drain hose to the garbage disposer, remove the dishwasher plug. You can also connect the drain line directly to the kitchen sink drain.
Remove the cap off the drain line connection and connect it to the drain hose. Don’t be concerned if the drainpipe leaks a little water. To ensure that it is firmly in place, apply a tiny hose clamp. So that it may be connected later, thread your drain hose through the hole attaching to your sink.
5- Connecting the water supply line
A dishwasher 90 is included with your dishwasher connection kit and will be used to connect the water supply to the dishwasher. The first step in connecting your dishwasher’s water line is to install the dishwasher 90.
On the water valve, look for the water intake fitting. Apply pipe joint compound to the dishwashing 90 fitting’s threads before threading it onto the solenoid valve. Tighten entirely by hand, then use pliers or an adjustable wrench to tighten a further 1/4 turn.
6- Connecting the electrical wires
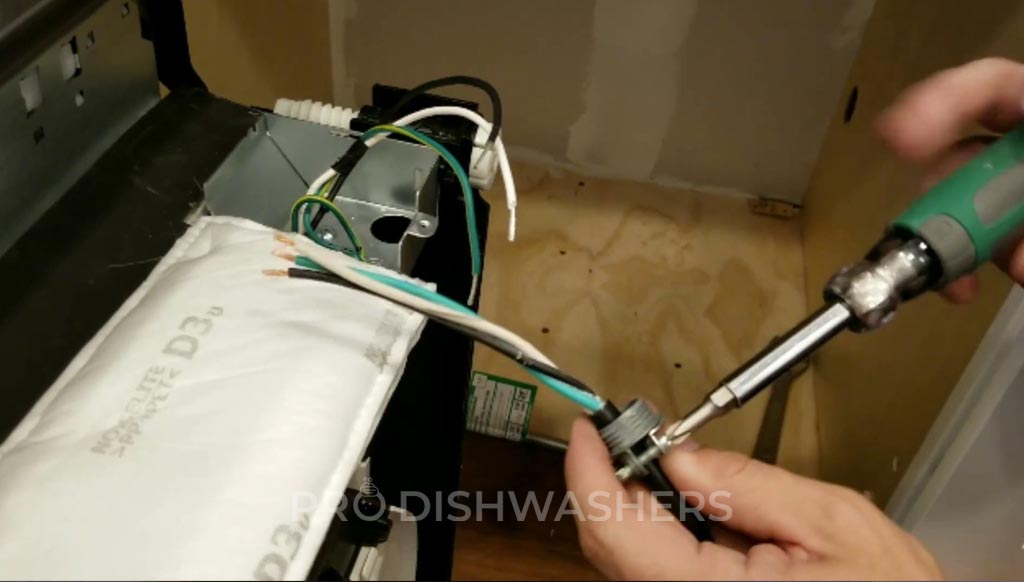
There are many wires that need to be connected in order to get a dishwasher up and running. The first step is to identify the power cord and plug the power cord into an outlet. Finally, find the dishwasher’s electrical box and attach the wires using wire connectors (also known as wire nuts).
Remove the wire connecting the housing cover. Make the three wire connections, green wire from the appliance cable to the green grounding screw, white neutral wire to white lead, and black hot wire to black leads.
Twist-on wire connectors (wire nuts) are often used to make these connections, however, other appliances may use a different approach. Replace the wire connector housing cover. Screw the cover back on and you’re done!
7- Positioning the dishwasher
Turn the dishwasher up and slide it into the place you have set up for it, with the electrical cords, drain hose, and water supply line coming through the holes you drilled in the sink base cabinet for them.
Place your washer without pushing it too far, adjust the height of the washer legs using a wrench so that they are flush with the countertop above them with instructions from the manual.
8- Attaching water supply line
Once plugged in, look for the water inlet and hoses. There are usually two hoses – one for hot water and one for cold. Connect them to the appropriate water faucets using connectors that can be tightened by hand. A braided steel water supply tube is also included with the connecting kit. Tighten the supply tube coupling nut with channel-lock pliers or an adjustable wrench onto the 90 fittings.
9- Hooking the Dishwasher
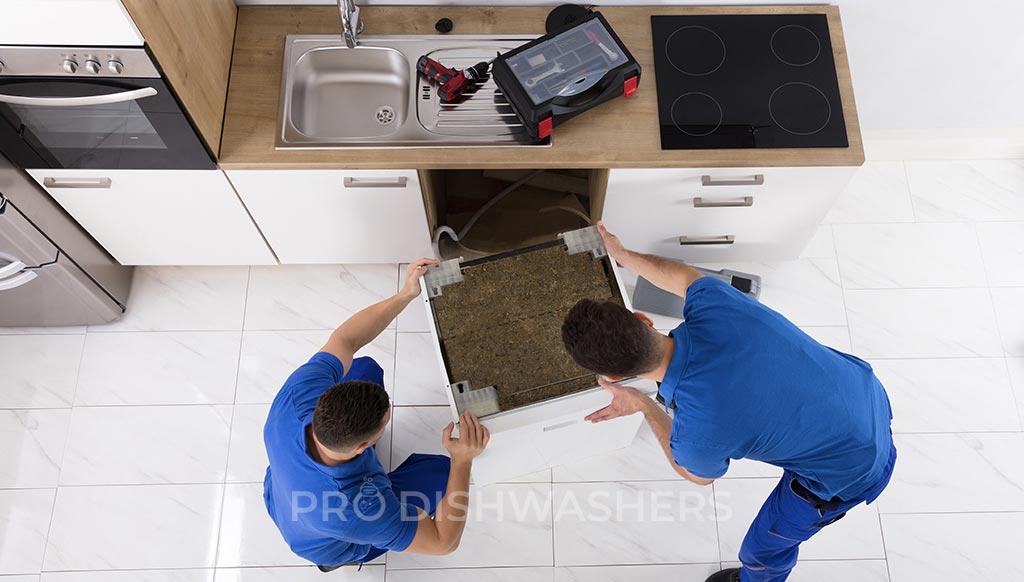
Once you are satisfied with the way your appliance is placed, fasten and secure the screws securing your appliance into place. Open the dishwasher’s door to access the brackets and fasten the brackets with screws provided into the frame of your cabinet.
10- Reconnecting the drain hose
Next, locate the dishwasher’s drain hose. This will likely be a long rubber tube with a clamp on one end. Attach it to the drain trap, the drainage sink, or hook it up to the garbage disposal if there is one. The dishwasher’s rubber drain pipe is generally already connected. If not, a hose clamp may be used to secure it immediately.
11- Testing the dishwasher
Once you are all set up, plug in the dishwasher’s electric cord. Run an empty test cycle to ensure that the water is flowing in seamlessly and that the drainage is leak-free. Once you have run a successful test cycle, Put the dishwasher’s faceplate back on.
6 Easy Ways to Replace Dishwasher
To replace a dishwasher, no specific tools are required. Just grab the basic tools available and you will be good to go. Here are 5 easy steps in which you can replace a dishwasher.
1- Remove the old dishwasher
Firstly, you need to remove the existing dishwasher in order to install a new one. Shut the power off and unplug the existing dishwasher, shut its water supply line as well. Remove the dishwasher drain hose to disconnect the dishwasher completely.
2- Disconnect the electrical connections
Disconnect the electrical and water connections by unscrewing the lower front panel. Remove the power cord. Make sure the power is off when you remove the electrical connections. Leave the clamp on for later use. If the existing dishwasher is hardwired, leave the cord to be used in the new dishwasher if it is in good shape.
3- Disconnect the water supply pipe
The water supply pipe is usually copper or stainless steel braided. To turn off the water supply, ensure that the shutoff valve is closed. The shutoff valve is typically used on the hot water pipe. Remove the nut from the 90-degree fitting on the dishwasher. Leave the nut and ring on the line for reuse if they are in excellent shape. You can gently bend the copper wire, but not kink it. You’ll have to replace it.
Remove the adapter for the new 90° fitting. The replacement machine must be oriented in the same way so the water line flows straight into it. Otherwise, the line may kink.
4- Remove the dishwasher drain line
After disconnecting the water supply line, remove the drain line from beneath the sink. It’s the flexible drain hoses attached to a sink drain or garbage disposer inlet arm. As you remove the old dishwasher, pull the drain hose back through the sink cabinet hole. Keep a cloth nearby to clean up any drips from the line.
Lowering the washer allows for easier removal. The leveling feet may be difficult to turn, but putting oil on the threads may help. If you need extra room, hacksaw the feet off and remove the screw. Then use cardboard or a mat to protect your floor as you take out the dishwasher.
5- Installing the new appliance
Uncrate the dishwasher as directed in the package. Inside it, you’ll find the manuals and installation instructions. Review how to put together a dishwasher before continuing.
Fix the 90-degree fitting to the dishwasher’s rear. The dishwasher will come with a new drain pipe. To prevent clogged sinks from overflowing the washer, loop the flexible drain line all the way up to the counter. The air gap fitting is required by certain plumbing rules.
6- Sliding the new dishwasher in
The last step is to slide the washer inside the base cabinet. The manufacturer’s manual will guide you to replace a dishwasher and adjust the leveling feet to suit the opening. Set them before slipping it in. A few small tweaks following the setup If your kitchen floor is raised, you’ll need to adjust the feet once you slide it in. The back of your appliance may need to be raised to the height of the completed floor if it has rear wheels without adjustments. So they don’t fall out while the machine runs.
Reconnect the dishwasher’s water supply pipe, electrical wire, and drain. Check for leaks. Reposition and fasten it to the counter through mounting brackets.
Things That Can Destroy a Dishwasher
Although dishwashers are capable of washing a bunch of household items and tools, there are certain things that can destroy your appliance and impair its cleaning ability. Here are a few things that can potentially cause damage to your appliance:
For a more detailed and insightful outlook on how these things can cause damage to your appliance, read my guide on 20 THINGS THAT CAN DESTROY A DISHWASHER where I have shared why and how these things can damage your dish-washer and how you can avoid it.
5 Tips to Enhance Dishwasher’s Performance
In order to enhance the cleaning ability of your dish-washer, here are some tips that can help:
- Keep your dishwasher clean. Run a hot water cycle with vinegar every two weeks to clean the washer and get rid of any foul odors.
- Use the right kind of detergent which is suitable for the type of water in your house. Read this list of top-rated dishwasher detergents to find one which is perfect for you.
- Always let your dishwasher door open after running a cycle in order for the dishwasher to air-dry. This will prevent the growth of microorganisms like bacteria, fungi, and mold. If your dishwasher has mold growth, read this guide on how to prevent and remove mold from your dishwasher.
- Wash and unclog the dishwasher’s filters and spray arms regularly and use rinse-aid.
- Load your dishwasher correctly and keep its air gap clean. Here’s a guide on how to clean the dishwasher air gap.
Conclusion
Installing a dishwasher is a relatively simple process that can be completed in a few hours. It is important to read the installation instructions thoroughly before beginning and to have all of the necessary tools and supplies on hand. There are several basic steps in installing a dishwasher: connecting the water supply and drain lines, mounting the dishwasher, and wiring it in. Following these steps should ensure that your DIY project dishwasher is up and running in no time!


